Acrylic Nail Application Tutorial

Step By Step To How To Do Your Own Acrylics French Tip Nails Disclaimer I Did Not Get This From The Diy Acrylic Nails French Tip Nails Acrylic Nails At Home

Pin On Nails Acrylic Nail Kit Hard Gel Nails Gel Nail Tutorial

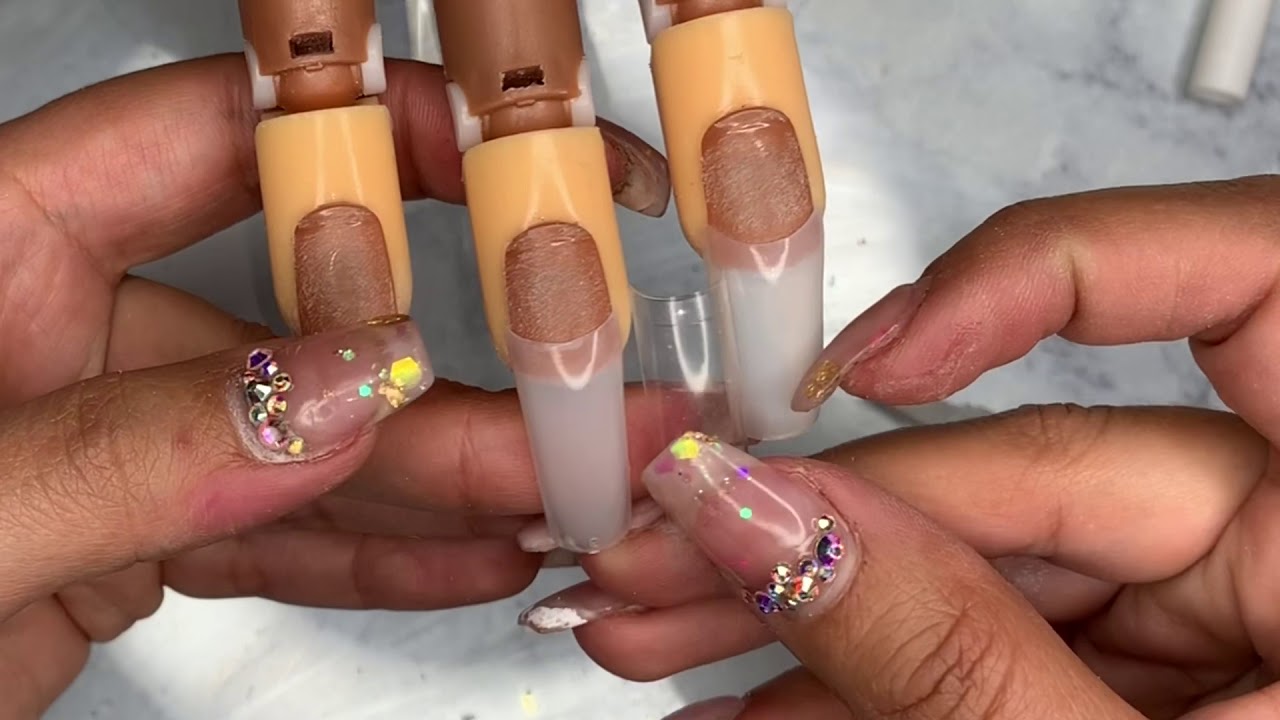
Nmkl 120pcs Box Full Cover Clear Dual Forms Nail System Uv Gel Acrylic Nail Mold Artificial Nail Tips With Sca Gel Acrylic Nails Acrylic Nails Artificial Nails

Alexandra Nanette On Instagram Pink White Ombre Picture Tutorial Pinknails Ombre Gel Nails Diy Acrylic Nails Ombre Acrylic Nails
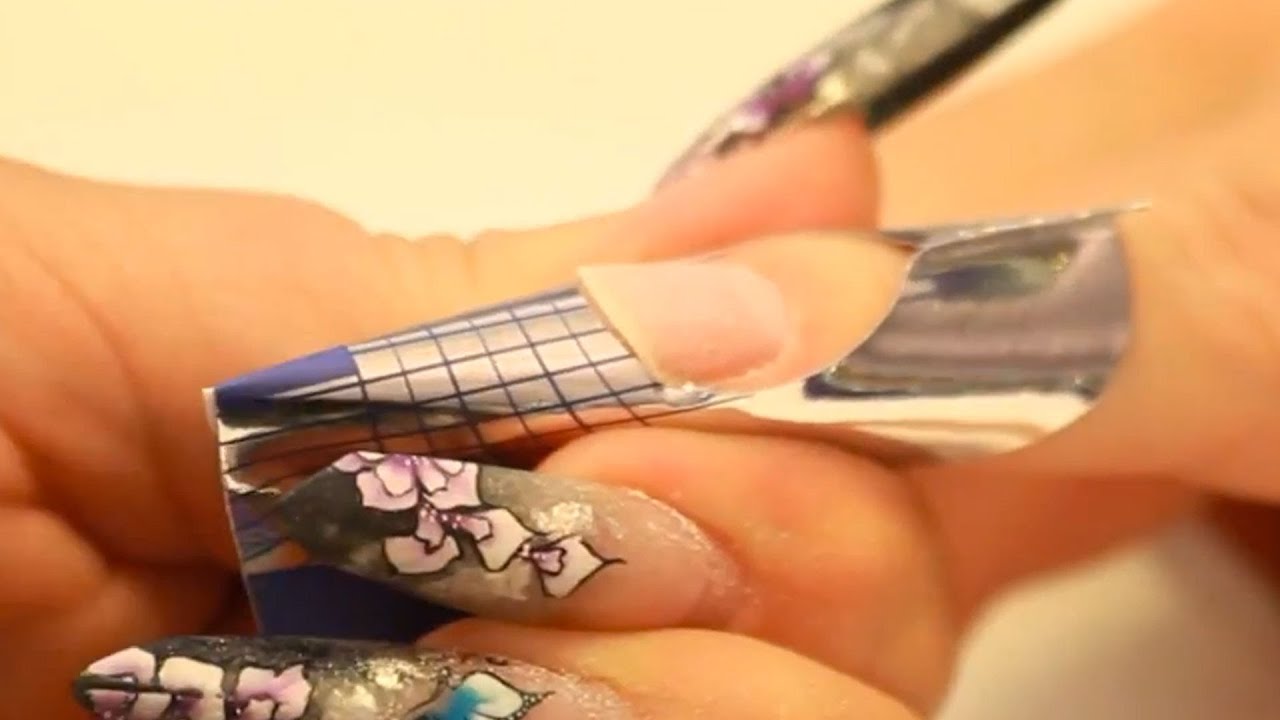
Apply Nail Forms Square Stiletto And Edge Shaped Nails Tutorial Video By Naio Nails Youtube Nail Tutorials Nail Tutorial Videos Nail Forms

Diy Acrylic Nails At Home How To Apply Easy Step By Step Tutorial Diy Products Cornstarch Diy Acrylic Nails Acrylic Nails At Home Acrylic Nail Tips
Adjust the size of the curve to fit each nail.
Acrylic nail application tutorial. Part 2 - using another bead of acrylic and liquid apply it to Part 2 of the nail and butt it up against your first application and blend it slightly over the lower edge of Part 1. Remove the circle sticker from the centre of the acrylic form and stick it on the back to strengthen the form. Vertical Ombre and Free-Hand Flowers.
The enhanced color stabilizers ensure no yellowing. In this video Ill be showing you how to creat a set of nails from start to finish. Medium Round Soft Gel Tip to Almond Shape.
Perfect Match Exposed Collection Nude Line Art Nail Tutorial. At this stage you can do a quick file down to smooth it off remove the dust with a brush. To do acrylic nails start by buying an acrylic nail kit from a beauty supply store and setting up a work space in a well-ventilated area since acrylic fumes can be toxic.
Ad Learn Professional Nails Gel Acrylic Quick Dip online - with full guidance from us. March 3 2020 by admin 0 Comments. Look at the shape of the hyponychium where the nail separates from the skin and cut out the form to match the shape.
Watch as a set is reshaped to a clean almond nail and then polished and perfected. After preparing your nails and possibly placing your tips you are now ready to begin your nail masterpiece. Q-Monomer Liquid The name of the liquid we work with is Q-Monomer.
Learn to Sculpt with Your Brush. Using a Pinching Tool Optional After you have practised doing acrylic for a while or are confident doing basic acrylics you can use a pinching tool on the nail to make the nail longer more slender and to make a stronger C curve which will make the nail. You could add the DP01 Clear as a base coat.
How To Apply Nail Tips On Nail Trainer Nails For Beginners Youtube Nail Tips Acrylic Nail Shapes Nails

Acrylic Nail Fill Tutorial Apply Acrylic In Under 5 Min With Perfect Sh Acrylic Nail Kit French Acrylic Nails Acrylic Nails At Home

Lovely Simple Step By Step Tutorial By Laura Denton Using Inverted Moulds And Our Chunky Silver Glitter And Mega Neon Pink Nails Art Neon Pink Nails Gel Nails


