How To Make Ombre Nails With Acrylic

Alexandra Nanette On Instagram Pink White Ombre Picture Tutorial Pinknails Ombre Gel Nails Diy Acrylic Nails Ombre Acrylic Nails

Pin By 1 505 302 8105 On Mabatho Chego S Nail Board Ombre Gel Nails Diy Acrylic Nails Ombre Acrylic Nails

How To Do Ombre Nails 2021 Update Naildesignsjournal Com Ombre Nail Diy Pink Ombre Nails Ombre Gel Nails

Pin By Erica Terrones On Nails Ombre Nails Tutorial Pink Ombre Nails Ombre Acrylic Nails

20 Great Ideas How To Make Acrylic Nails By Yourself 1 Ombre Nails Glitter Coffin Nails Ombre Pink Ombre Nails

Perfect Ombre Blend Acrylic Nail Youtube Nails Best Acrylic Nails Acrylic Nail Designs

Start at the cuticle area and work your way down the nail.
How to make ombre nails with acrylic. Weve added a few helpful tips and tricks to help you get. You might have to alter your fluid to. If youve already cleaned your nails and want to create ombre nails start by applying a clear base coat to prevent your nails from getting stained.
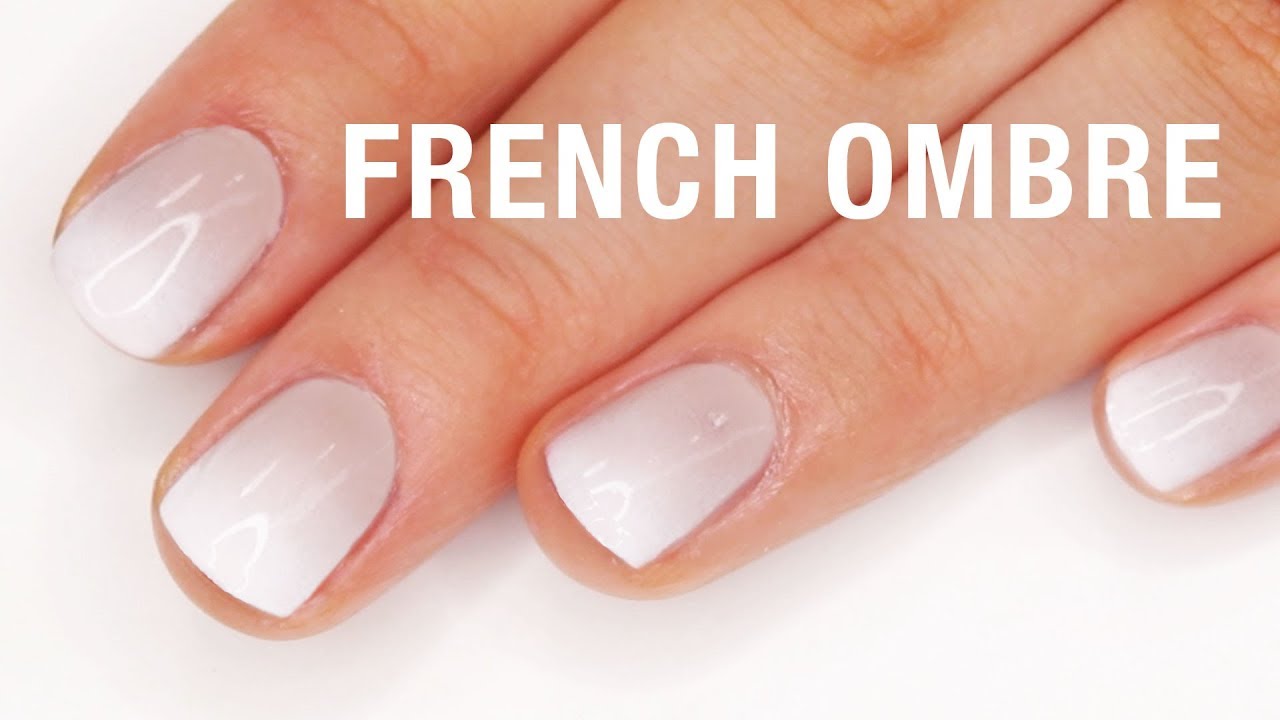
Now pick up the makeup sponge and on the small end of the sponge proceed to paint on layers of your preferred polish shades in the order and style you want them. The ombre polish can still use a light pinknude with a white tip but instead of painting on the tip either an airbrush or a sponge is used for a blended effect having a gradual. You will have to work fast as acrylic.
Hope you guys enjoyed this tutorial. Just make sure to study our guide carefully to master DIY ombre nails. It is non-toxic and is water-based and dries fast.
It is also possible to create a gradient using a nail brush or even a Q tip. Then use white or your lightest color to create your base color coat. How to do ombre nails with acrylic liquid.
If you want to do some Ombre Nail art then you are going to need at least three coats of the dye a white base coat to seal it and then you can put the nails on. Whether you use two three or more colors the concept stays the same. To create the perfect ombre design with acrylic you will have to follow the right technique.
The pigment from the acrylic powder will transfer onto the nail plate without increasing the amount of acrylic powder on the nail. Valentino products are great for this kind of design. How to do ombré nails at home diy ombre nails.
Pin On Hair And Makeup
20 Great Ideas How To Make Acrylic Nails By Yourself Nail Naildesigns Ombre Acrylic Nails Nails Ombre Nails

Ombrenails Ombre Nails Glitter Pink Acrylic Nails Ombre Acrylic Nails


