Steps To Doing Acrylic Nails At Home

Step By Step To How To Do Your Own Acrylics French Tip Nails Disclaimer I Did Not Get This From The Diy Acrylic Nails French Tip Nails Acrylic Nails At Home

Step By Step Rossi Nail Gel Acrylic Nail Kit Hard Gel Nails Gel Nail Tutorial
10 Things To Do When You Re Bored What To Do When You Re Bored Diy Slime How To Make Slime Hey Everyone Fo Fake Nails Diy Fake Nails Acrylic Nails At Home

How To Do Gel Nails At Home I Am Joellen Diy Acrylic Nails Gel Nails At Home Gel Nails Diy

Diy Acrylic Nails Easy At Home Diy Acrylic Nails Gel Nails Diy Acrylic Nails At Home

The Perfect At Home Gel Manicure Gel Manicure Diy Gel Manicure At Home Gel Nails Diy

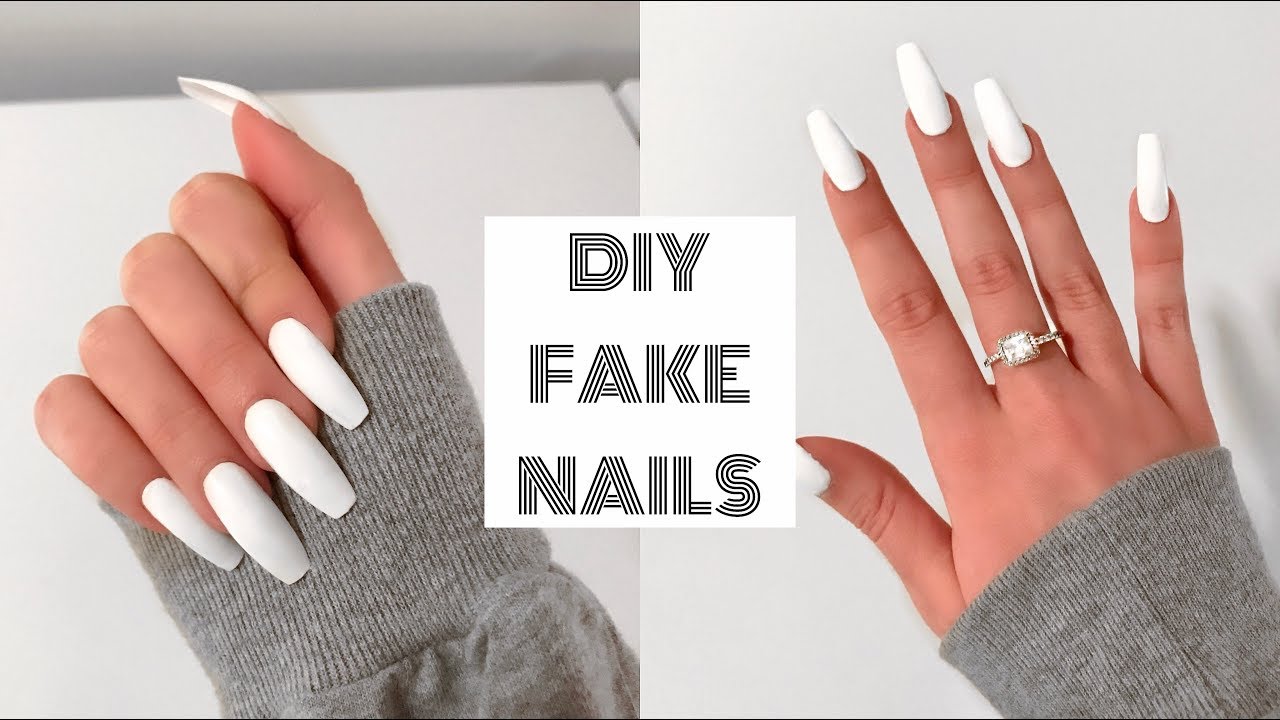
Paint your nails in the desired color.
Steps to doing acrylic nails at home. You can also re-dip the brush to help move any acrylic that is hardening. A Step by Step How-To Guide Tutorial- Hey everyone. Repeat this step but this time apply it to the entire nail avoiding the cuticle line.
You obviously do not want your acrylic paints to stick to your skin. Step-by-Step Instructions to DIY Acrylic Nails Step 1. Repeat this process until the nail is complete.
Pour the acrylic liquid and powder into separate acrylic dishes. Gently push your cuticle back although not necessary but I like to and use the nail file to gently buff the shine away on your nails. So buff your nails with the buffer block.
You need clean natural nails to ensure good adhesion of the acrylic. ALL-NATURAL NAIL DAMAGE This could take place while of the solution. Hold the tip down for 10 seconds to allow the glue to dry.
Make sure you are in a well-ventilated area as the fumes from the acrylic are so strong. Buffing the soft surface of the nails with a buffer block makes them less shiny and rougher. How to Apply Nail Tips at Home Next choose a nail tip which fits your nail and your style preference.
But once the acrlyic is hard it aint moving. Apply SNS Gel Base to ¾ of the nail plate and dip the nail into SNS Natural Set Dip Powder. She also put together a step by step DIY nail tutorial using the Kiara Sky.

Step By Step Guide For Diy Polygel Nail Manicure Diy Nails Manicure Gel Nails Diy Polygel Nails
Alexandra Nanette On Instagram Pink White Ombre Picture Tutorial Pinknails Ombre Gel Nails Diy Acrylic Nails Ombre Acrylic Nails

Diy Acrylic Nails Diy Tutorials Diy Acrylic Nails Acrylic Nails At Home Matte Nails Design


